Part 2. AZURE AD Config for AWS SSO
Azure Config
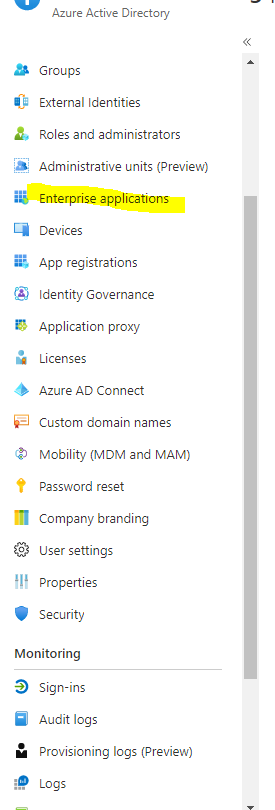
Login to your azure portal and go to Active Directory and select Enterprise applications , then New applications
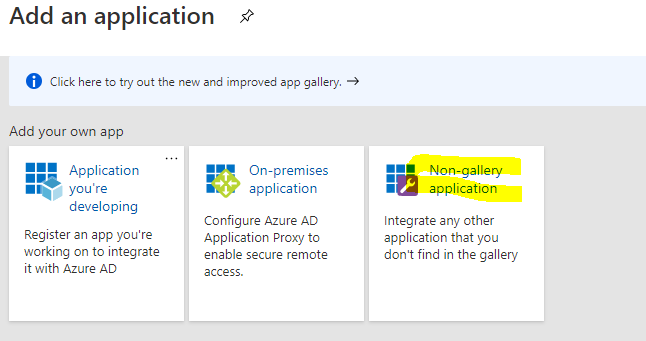
Select Non Gallery application as the AWS gallery application is for SSO into IAM not AWS SSO.
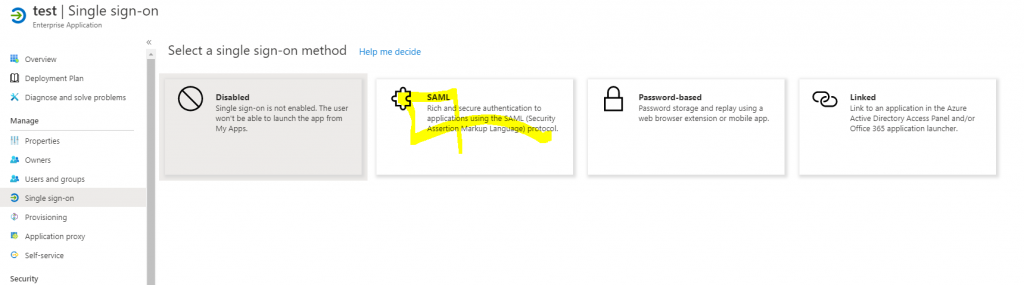
Give it a name and then go to the app click Single Sign on and select SAML
Then in the screen click on Upload the meta file and it will set the
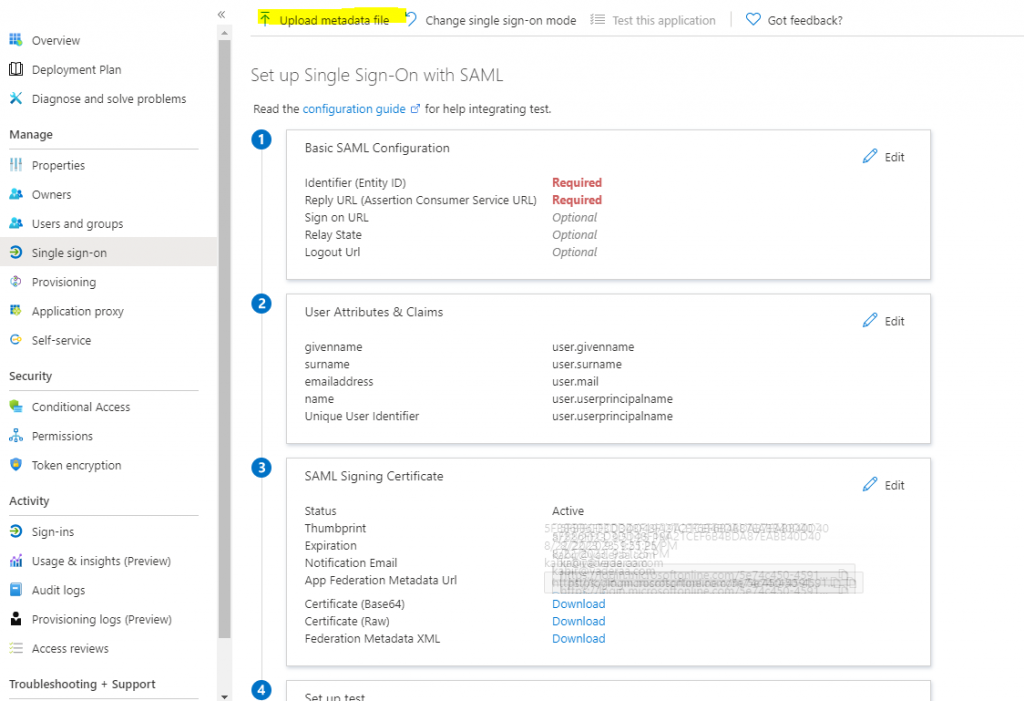
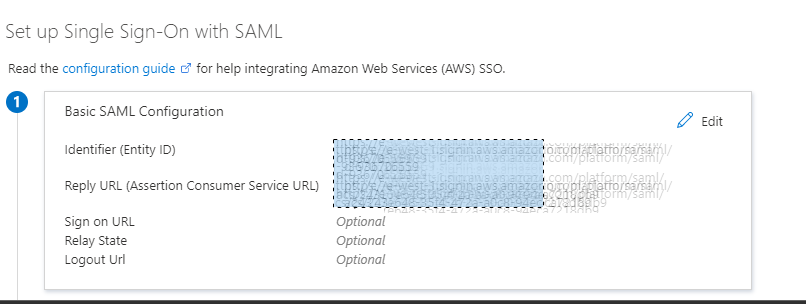
When you upload the file it will set the Identifier and reply URL
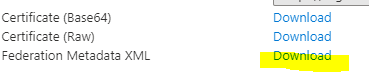
Download the Azure MetaData XML
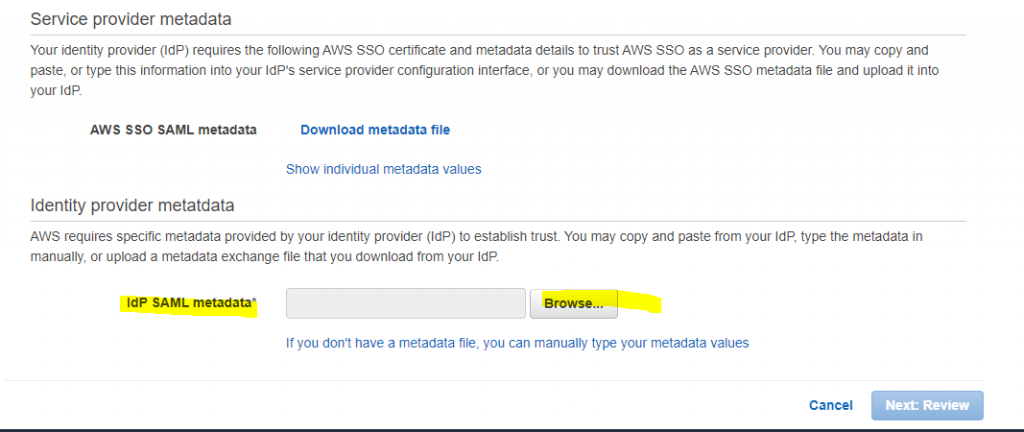
Quickly flip back to AWS and upload the file click next and that part of AWS is configured.
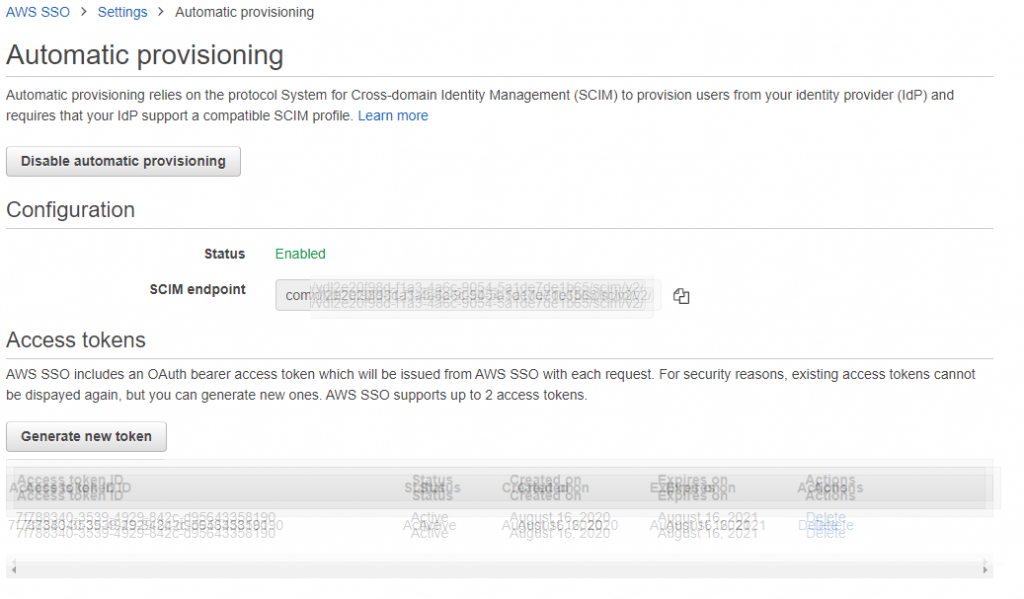
Now we need to setup provisioning so the users and groups who are added to this group in azure ad are provisioned on AWS SSO. To do this we need to go back to AWS SSO click on enable auto provisioning
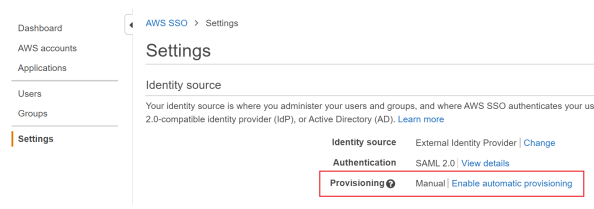
AS part of this it will generate an SCIM ID and a Token take note of both of these as they will need to go into Azure
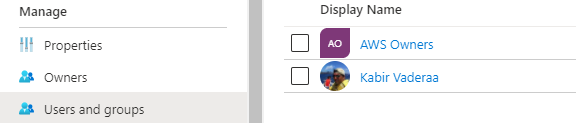
Add users and groups to the Azure APP, You can add as many groups as you need roles in AWS.
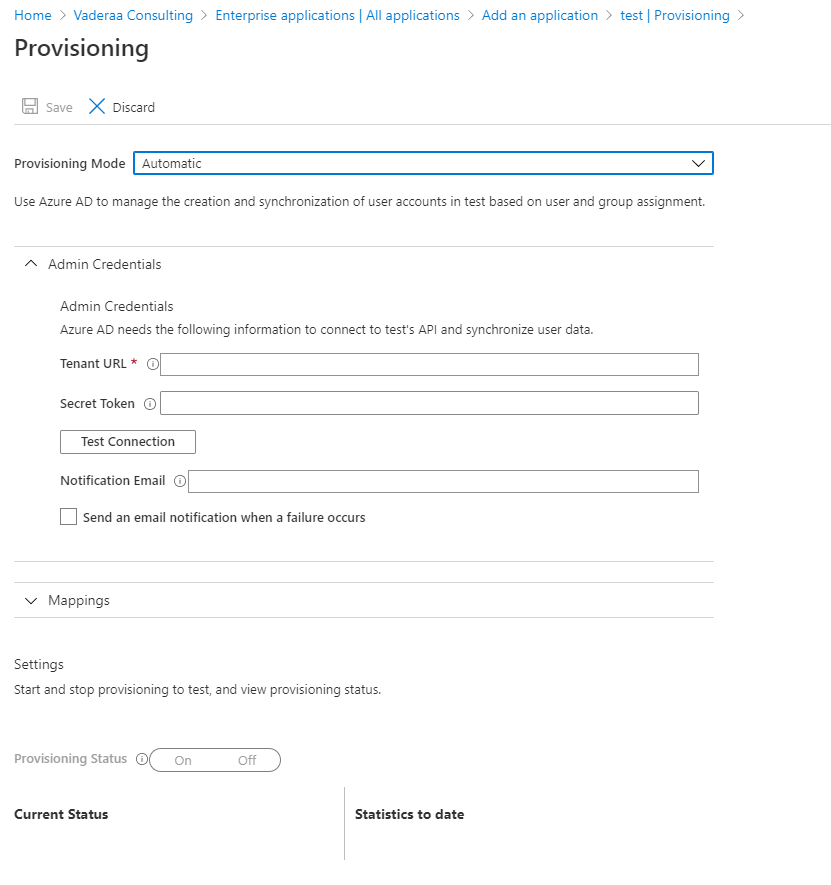
Setup Account Provisioning
In Azure AD go to provisioning, set to automatic. In the tenant URL enter the SCIM URL generated in AWS and for the secret enter the token Secret generated from AWS. Click the test button to validate.
Now we are still not done there are few other setting we needs to change on the mappings as outlined in the AWS Article but here are the highlights
Expand the mappings
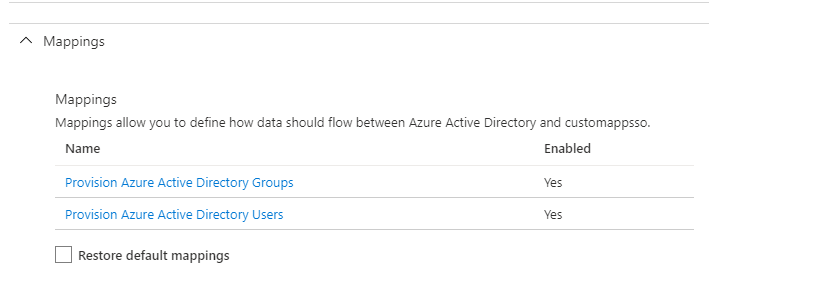
Important:
- Make sure that all users in Azure AD have filled out First name, Last name, and Display name values in their user properties. Otherwise, automatic provisioning won’t work with Azure AD.
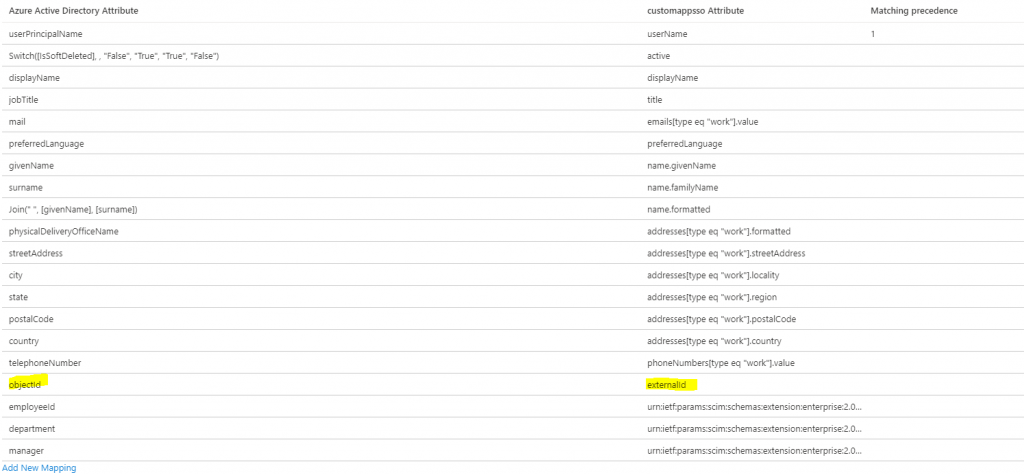
- On the Attibute Mapping page, delete the mappings for the two attributes facsimileTelephoneNumber and mobile.
- Choose mailNickname in the attribute table, under Edit Attribute, change Source attribute from mailNickname to objectId, and then choose OK.
For the groups you need to do point 3 Above only

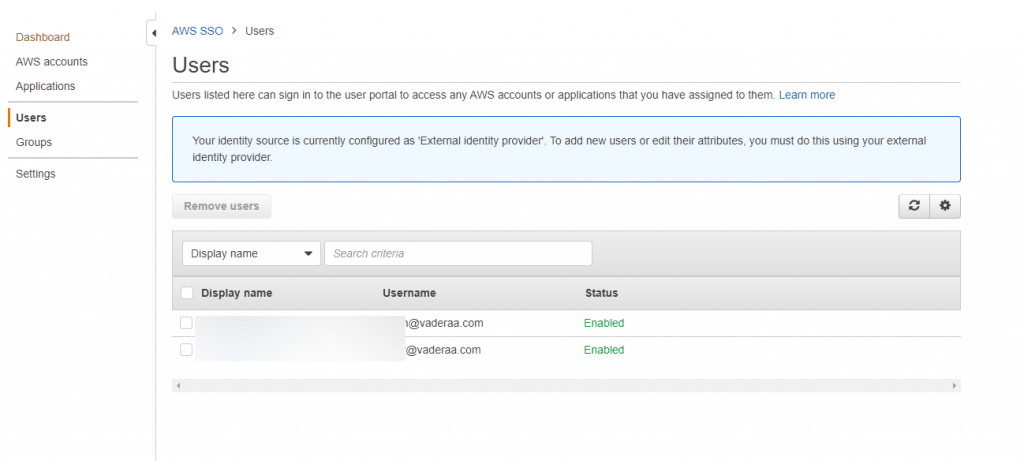
Users should look something like bellow
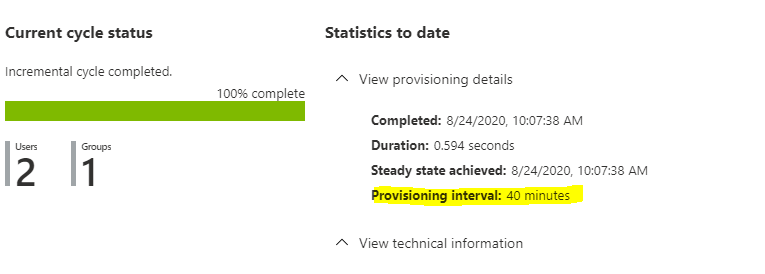
Once you’re happy with your settings, Turn on the provisioning status and save the changes.
Note Azure AD will now only provision every 40 minutes so if you make additional changes you need to wait for the next sync cycle .
Once the provisioning has completed you will see them in AWS SSO
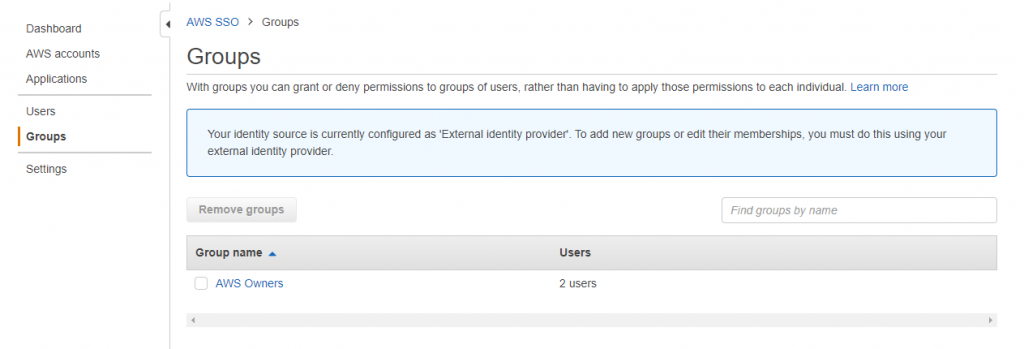
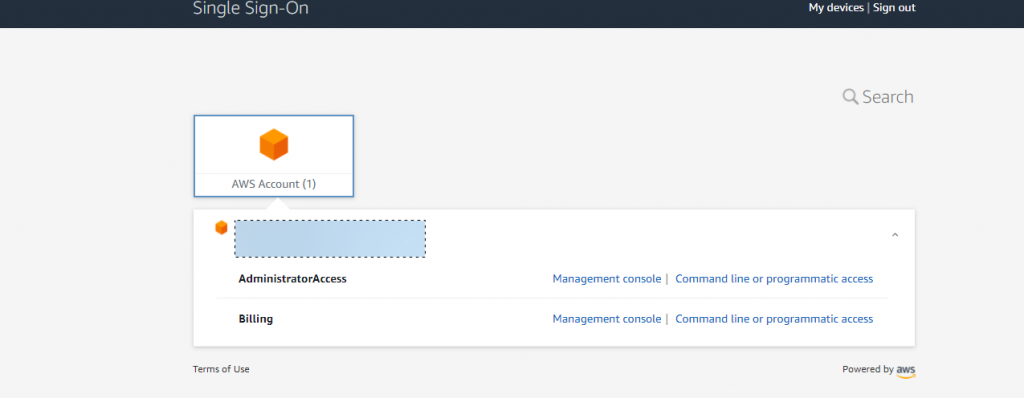
You are now ready to assign aws account permissions to the groups and users. Once you have done then when a users in the Azure AD group goes into office 365 or going to https://account.activedirectory.windowsazure.com/r#/applications and selects all app they should see the AWS Application now all they need to do is click on it
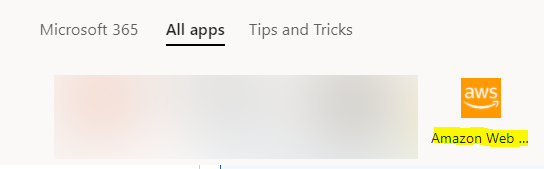
When they do they will be given a screen like bellow with a list of AWS account and permissions they are assigned in those accounts